🌳 Hierarchy & Widget Tree
The Hierarchy panel (located in the bottom-left corner) is the structural map of your HMI. It allows you to manage the stacking order of elements and define parent-child relationships, ensuring your UI logic remains organized and scalable.
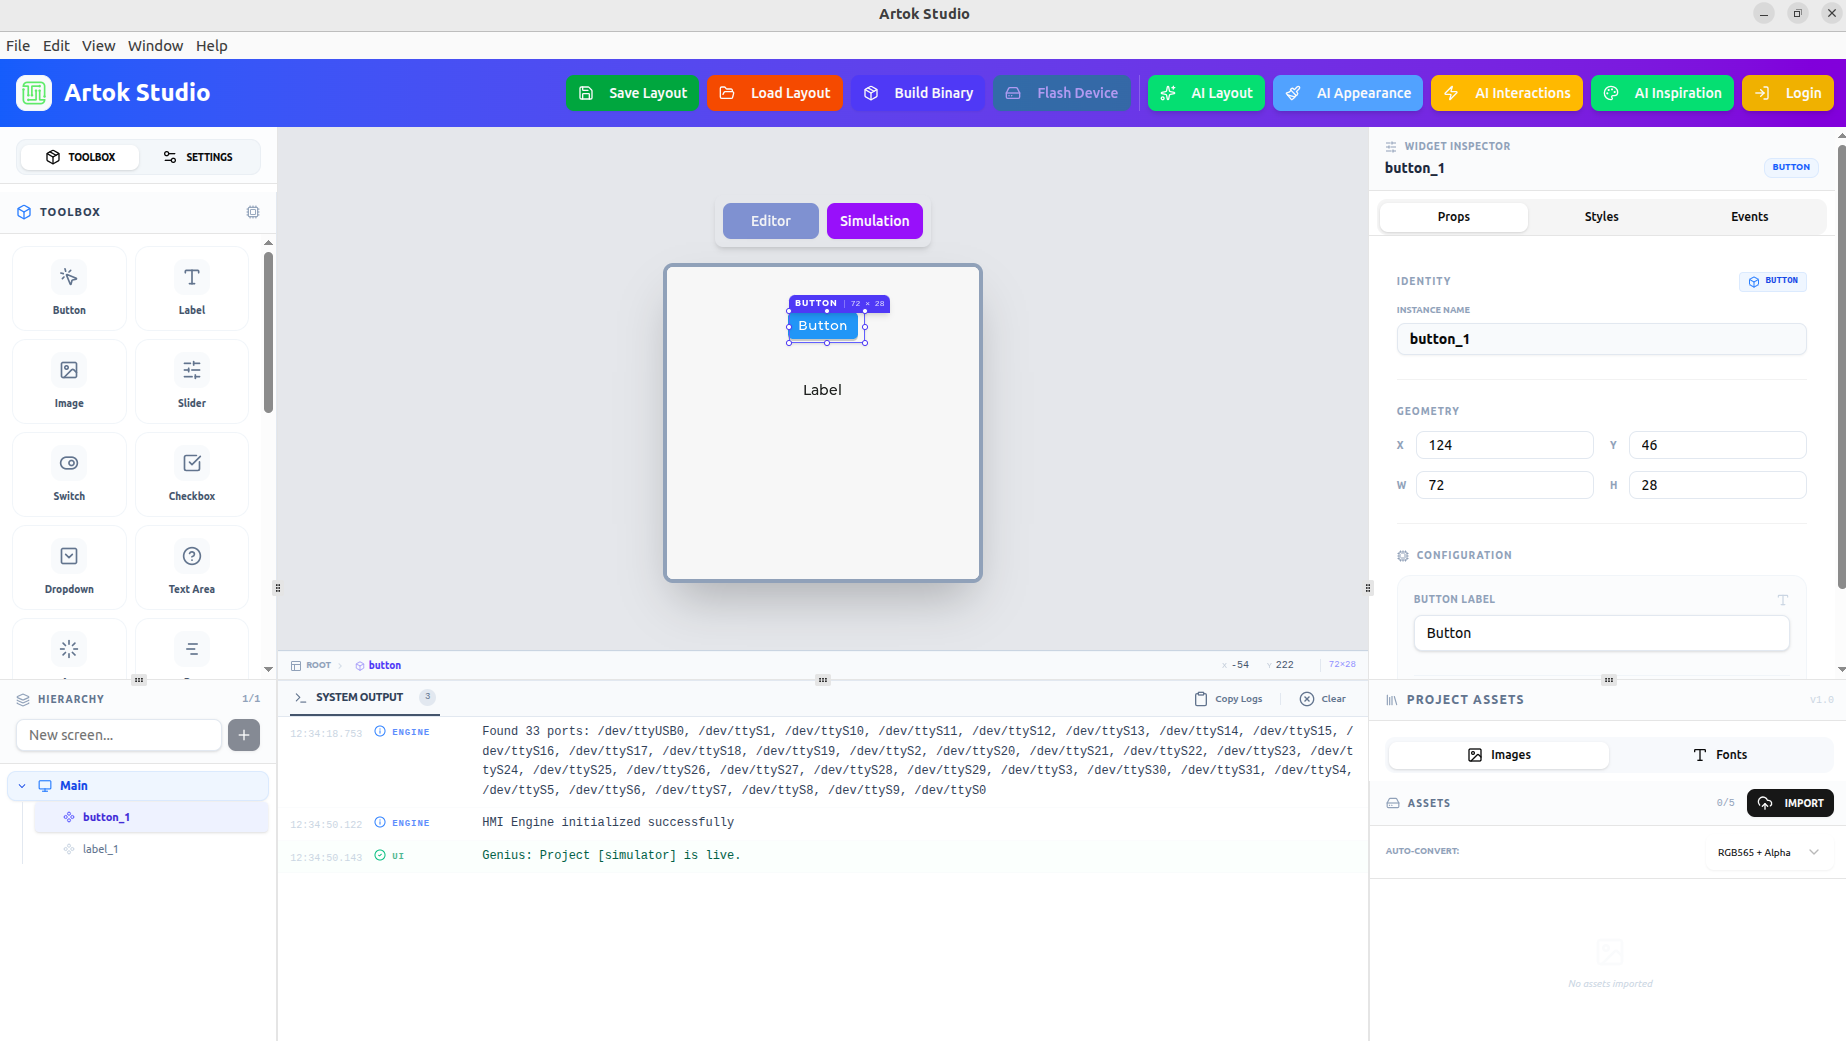 Figure 1: The Hierarchy panel showing 'button_1' and 'label_1' nested under the 'Main' screen.
🏗 Understanding the Tree Structure
In Artok Studio, UI organization follows a strict nesting logic:
Parent-Child Relationships
- Root Nodes: Every screen (e.g., Main) acts as a root container.
- Child Widgets: When you drag a widget onto a screen, it becomes a child of that screen. In the tree, children are indented under their parent.
- Group Logic: Moving or hiding a parent automatically applies that action to all its children, preserving the integrity of your layout groups.
Layer Ordering (Z-Index)
The vertical order in the Hierarchy panel determines which elements appear "on top" of others:
- Top of List: Rendered first (the background layer).
- Bottom of List: Rendered last (the foreground layer).
- Reordering: To bring a widget to the front, simply drag it to the bottom of its group in the Hierarchy tree.
🛠 Management Tools
The Hierarchy panel provides several shortcuts for rapid project management:
| Tool | Description |
|---|---|
| New Screen (+) | Located at the top of the panel to add additional HMI views. |
| Visibility (👁) | Hover over a widget to toggle its visibility on the canvas. |
| Instance Naming | Double-click any name (e.g., button_1) to rename it for better script referencing. |
| Search | Use the filter bar to quickly find widgets in complex, multi-layered projects. |
When using AI Interactions, the AI looks at the names in your Hierarchy. Renaming button_1 to btn_power helps the AI generate more accurate and readable logic for your project.
Next Steps
With your structure set, begin customizing your components:
- Property Inspector — Define the styles and events for your widgets.