⚡ Logic and Events
In Artok Studio, "Logic" is the functional link between a user's physical interaction (like a touch) and a hardware response. Instead of complex state management, Artok uses a direct Event-Driven model managed within the Events tab of the Inspector.
👆 Defining Interaction Triggers
Every widget can be assigned specific triggers optimized for embedded touchscreens and physical input devices.
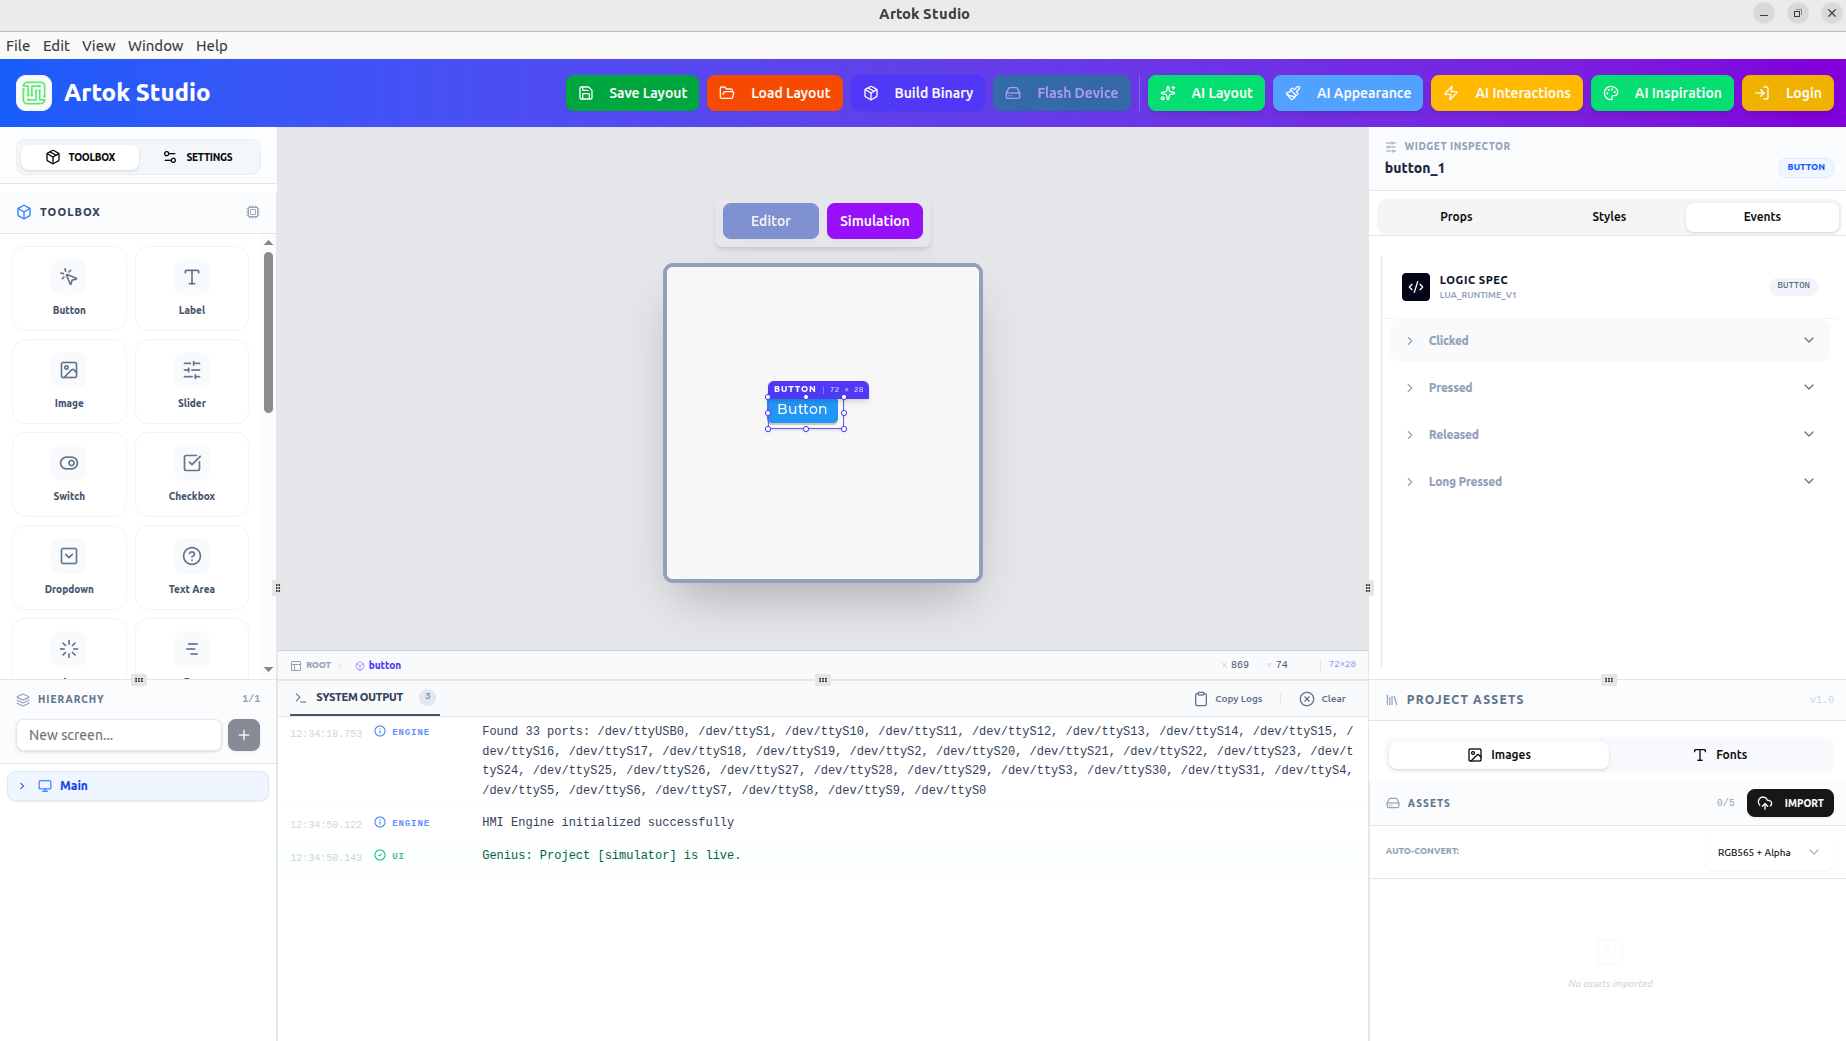 Figure 1: The Events tab showing standard interaction triggers and Logic Spec.
Supported Event Triggers:
- Clicked: Triggered after a quick press and release on the widget.
- Pressed: Triggered the instant the user's finger makes contact with the screen.
- Released: Triggered when the user lifts their finger from the widget.
- Long Pressed: Triggered when the user maintains contact for a set duration.
📝 Linking UI to Hardware
To control a widget via your embedded C or Lua code, you must utilize its Instance Name.
- Select your widget (e.g., a Button).
- Navigate to the Props tab.
- Assign a unique Instance Name (e.g.,
btn_emergency_stop).
Embedded Tip: By providing clear instance names, your hardware's backend logic can easily identify, read, or update widget properties—such as changing a Label's text or a Gauge's value—during runtime.
🧠 AI-Generated Interactions
Artok Studio v2.4.0 allows you to generate these event behaviors using natural language through the AI Interactions tool in the top header.
- Prompting: Select a widget and describe the desired outcome (e.g., "When this slider moves, update the motor speed label").
- Automation: The AI automatically generates the underlying script and attaches it to the appropriate event trigger in the Inspector.
Use the System Output panel at the bottom to verify your logic is firing correctly. When the project is live in the Simulator, all event triggers and potential script errors are logged there in real-time.
Next Steps
Now that your HMI is interactive, learn how to move from design to hardware:
- Build & Flash — Generate the production binary for your MCU.
- Lua Scripting — Deep dive into manual logic for advanced users.